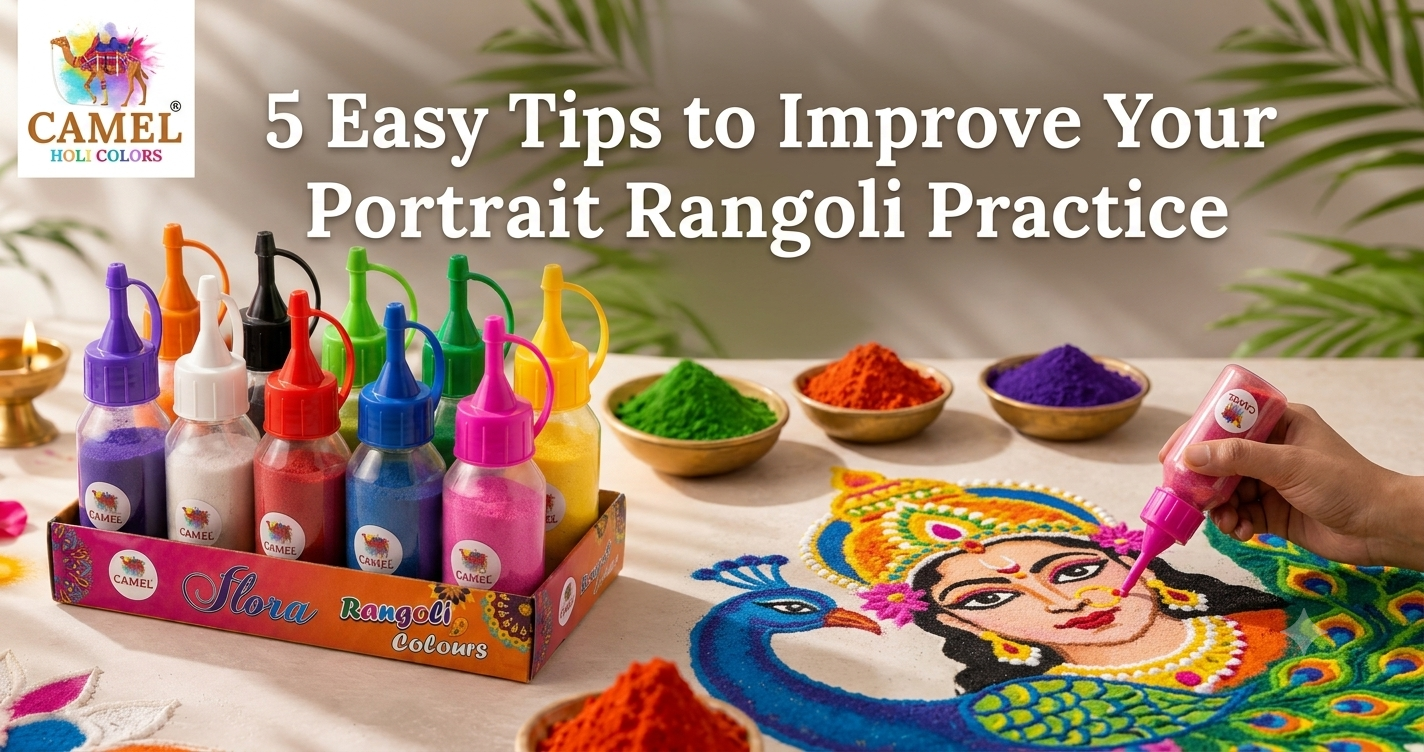
There is something special about creating a portrait with rangoli. A flower or geometric pattern can be beautiful, of course, but when you try to recreate a person’s face using coloured powder, the challenge becomes completely different.
One tiny change in the eyes can alter the whole expression. A slightly misplaced line around the nose can change the shape of the face. And if the proportions are off, you can usually tell right away.
But don’t let that scare you.
Portrait rangoli takes practice, and nobody gets every detail right on the first attempt. The good news is that you can improve much faster by working on a few basic techniques instead of simply making one portrait after another and hoping for better results.
If you’re practising portrait rangoli at home, preparing for a competition, or simply experimenting with a new style of rangoli art, these five practical tips can help.
1. Start With the Basic Shape, Not the Details
This is probably the most important lesson for anyone learning portrait rangoli.
When you look at a face, your eyes naturally go straight toward the details — the eyes, lips, eyebrows and hair. So it is tempting to start drawing those features immediately.
Don’t.
Begin with the overall shape of the head.
Lightly establish the width of the face, the position of the forehead, the jawline and the general placement of the hair. Think of it as creating a rough map before adding the actual picture.
Why does this matter?
Because facial features have to work together. If the head is too narrow, the eyes may end up too close together. If the jaw is too wide, the entire portrait can look different even when the individual features are reasonably accurate.
Take your time with the foundation. Once the proportions feel right, the smaller details become much easier.
2. Use a Reference Image You Can Actually Read
A good reference photograph can make portrait rangoli practice much easier.
Choose an image where the person’s face is clearly visible. Avoid extremely dark photographs, heavy filters or pictures where the face is partly hidden by hair or accessories.
A straight or slightly angled portrait is usually easier for beginners than a dramatic side profile.
Before touching your rangoli powder, study the reference for a few minutes.
Look at the distance between the eyes. Notice the shape of the eyebrows. Where does the nose become wider? How does the jaw curve? Which parts of the face are naturally darker?
These observations are more useful than simply copying lines.
Here’s a little trick: mentally divide the face into sections. You can think about the forehead, eyes, nose, cheeks, mouth and chin separately before bringing everything together.
It sounds simple, but it can make a huge difference.
3. Practise With Light and Shadow
This is where portrait rangoli starts becoming much more interesting.
A face isn’t made up of one flat colour. Light creates highlights and shadows, and those differences give the portrait its depth.
You don’t need dozens of shades to create this effect. Even a small selection of well-chosen rangoli colors can help you create contrast.
Use lighter shades for areas that catch the light and darker shades around features such as the hairline, sides of the nose, underneath the lips and certain areas around the cheeks.
The goal isn’t to make everything dark.
In fact, beginners often make the mistake of adding too much colour too soon. Once the darker areas become too heavy, it can be difficult to recover the softer appearance of the face.
Build the shading gradually.
Step back every few minutes and look at the portrait from a little distance. Something that looks subtle up close may look completely different from across the room.
4. Choose Rangoli Powder That Is Easy to Control
Your technique matters, but your material matters too.
Portrait work requires much more control than a basic decorative rangoli. You need to create narrow lines, soft transitions and small areas of shading. If the powder doesn’t flow well or feels difficult to spread, the process becomes unnecessarily frustrating.
That’s why it is worth paying attention to the quality and texture of your rangoli powder.
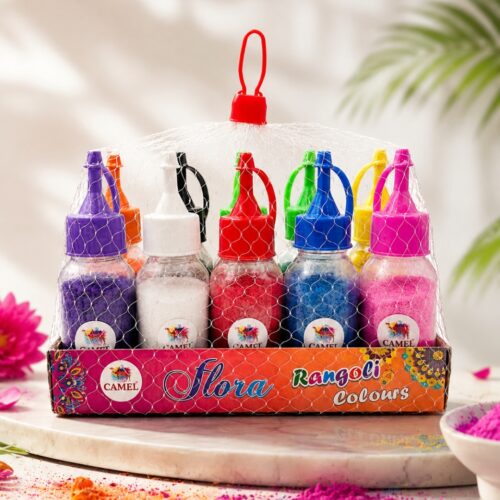
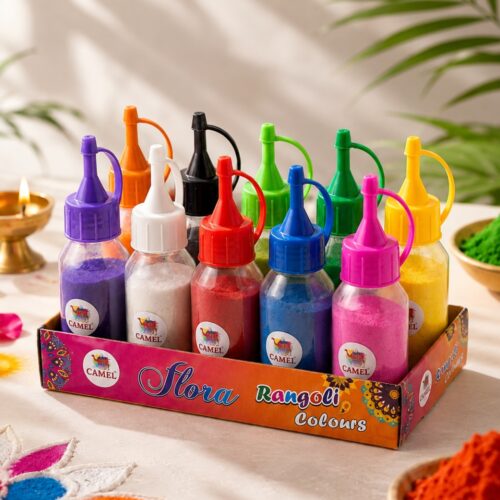
Choose shades that are easy to handle and suitable for detailed work. Keep different colours organised before you begin so you aren’t constantly searching for the right shade in the middle of the design.
If you’re buying supplies for regular practice, you might also compare different pack sizes. Someone practising small portraits at home may only need a compact set, while an artist preparing large pieces may require considerably more material.
People searching for rangoli powder wholesale india may also want to compare quantity, shade selection, packaging and consistency before placing a larger order.
And if shopping locally isn’t convenient, you can buy rangoli powder online and compare the available options before deciding what works for your particular style.
5. Practise One Feature at a Time
Trying to recreate an entire face every single time sounds productive, but it isn’t always the smartest way to practise.
Instead, break the portrait into smaller exercises.
Spend one session practising eyes.
Another day, work on noses.
Then try lips, eyebrows, hairlines or facial outlines.
Once you’re comfortable with individual features, combine them into a complete portrait.
This approach helps you notice exactly where you’re struggling. Maybe your eyes look good, but your proportions around the mouth need work. Perhaps your shading is strong, but your facial outlines aren’t consistent.
That’s useful information.
Keep a few photographs of your earlier attempts. Don’t delete the imperfect ones. They are actually the best way to see progress.
After a few weeks, compare an older portrait with a newer one. You’ll probably notice improvements that weren’t obvious while you were practising.
Don’t Rush the First Few Attempts
Portrait rangoli is detailed work, and rushing rarely helps.
Give yourself enough time to plan the design before spreading the powder. If you’re working on a large portrait, divide the process into stages rather than trying to finish everything at once.
A simple sequence might look like this:
Reference → outline → proportions → major colour areas → shadows → facial details → final corrections
This gives you opportunities to catch mistakes before they become difficult to fix.
And remember, your first attempt doesn’t have to be exhibition-ready.
It just needs to teach you something.
How to Select Rangoli Colours for Portrait Work
Colour selection becomes particularly important when you’re trying to create a recognisable face.
Rather than choosing shades randomly, decide beforehand which colours you’ll use for the major areas. Keep a lighter shade available for highlights and one or two darker shades for depth.
You can also experiment with unconventional colours if you’re creating an artistic or stylised portrait. Portrait rangoli doesn’t always have to look completely realistic.
Sometimes a bold combination of blue, purple, pink or orange can produce a striking result.
For traditional festival artwork, however, you may prefer a more natural-looking palette.
If you’re comparing products, the phrase best rangoli powder brand can mean different things to different artists. A beginner may prioritise easy handling, while an experienced rangoli artist may care more about shade variety and consistency.
Choose according to the work you’re actually planning to do.
Understanding Festival Rangoli Colour Price
The festival rangoli color price can vary depending on the quantity, number of shades, packaging and type of product.
If you’re only practising small portraits, you probably don’t need a very large collection of powder. On the other hand, artists creating large portraits for competitions, events or festivals may need several shades and larger quantities.
Before buying, make a rough list of the colours you actually use.
It can save both money and storage space.
A Few More Practice Tricks
Want to improve faster? Try these small habits.
Take photographs of your work. Your phone camera can reveal proportion problems that aren’t obvious while you’re standing over the rangoli.
Practise symmetry. Even when the final portrait isn’t perfectly symmetrical, understanding symmetry helps you position the features correctly.
Work from large to small. Establish the face and major shadows before worrying about eyelashes or tiny highlights.
Step back regularly. Don’t judge the portrait only from a few inches away.
Don’t keep correcting everything. Sometimes a small imperfection is better left alone than covered with layer after layer of powder.
And above all, keep practising.
Final Thoughts
Portrait rangoli can feel difficult in the beginning. There are simply more things to think about — proportions, expression, shading, colour and tiny details all have to work together.
But that’s also what makes it rewarding.
Start with the basic shape. Study your reference carefully. Learn how light changes the face. Use materials that give you control, and practise individual features instead of trying to master everything in one sitting.
With time, your hands become steadier and your eye becomes sharper.
And then something interesting happens.
You stop thinking about every individual line and start seeing the portrait as a whole.
That’s when portrait rangoli begins to feel less like copying a photograph and more like creating art.